Tissue paper pom poms
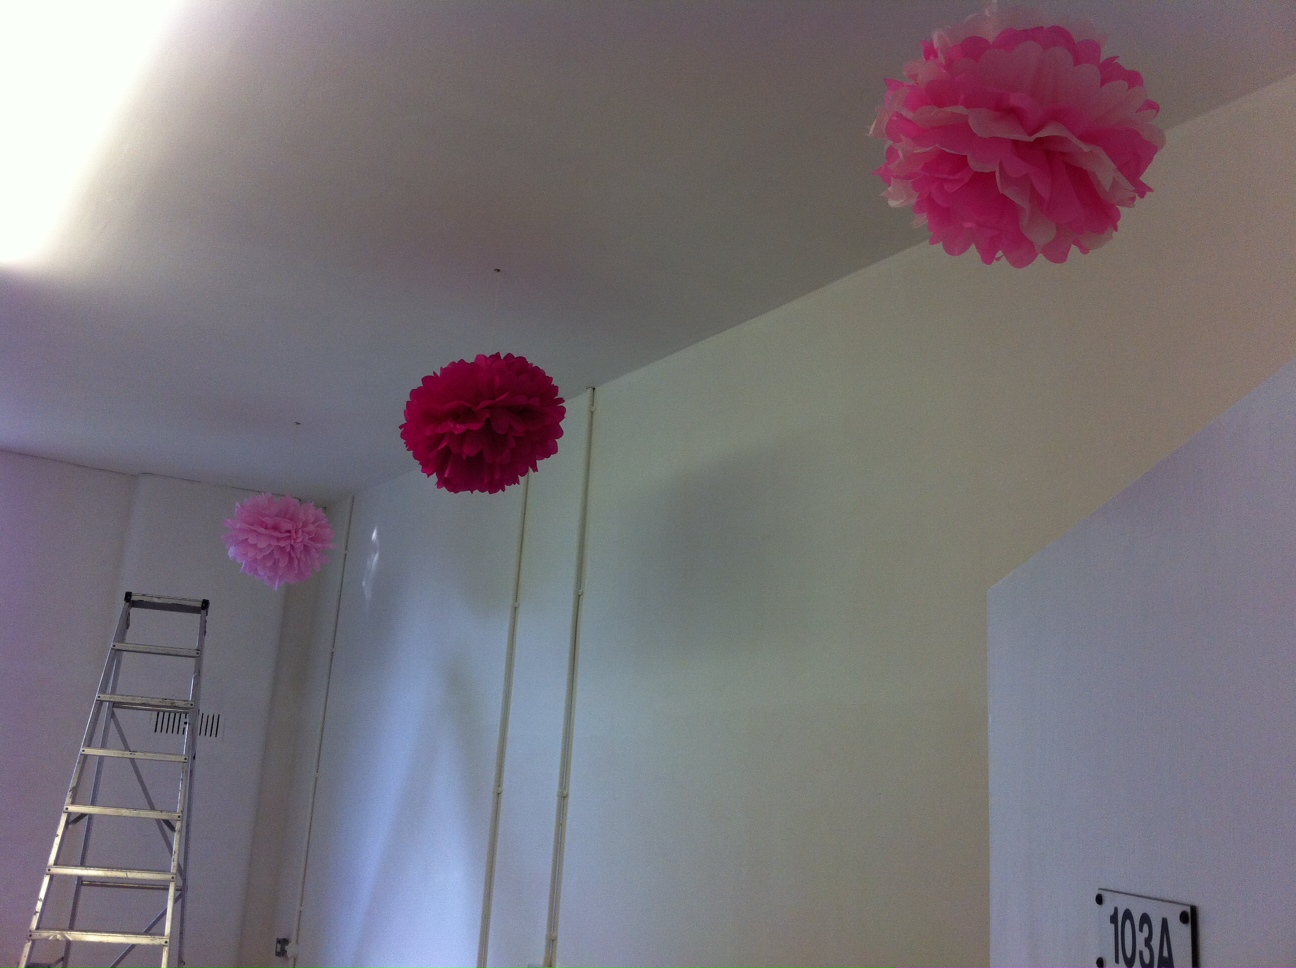
I've followed the Martha Stewart instructions for making tissue paper pom poms as I wanted something bright and cheerful to hang in my studio. They were surprisingly easy to make and look really effective - they've been much admired by visitors to the studio!
Here are step by step instructions (picture of each step are at the bottom of this post):
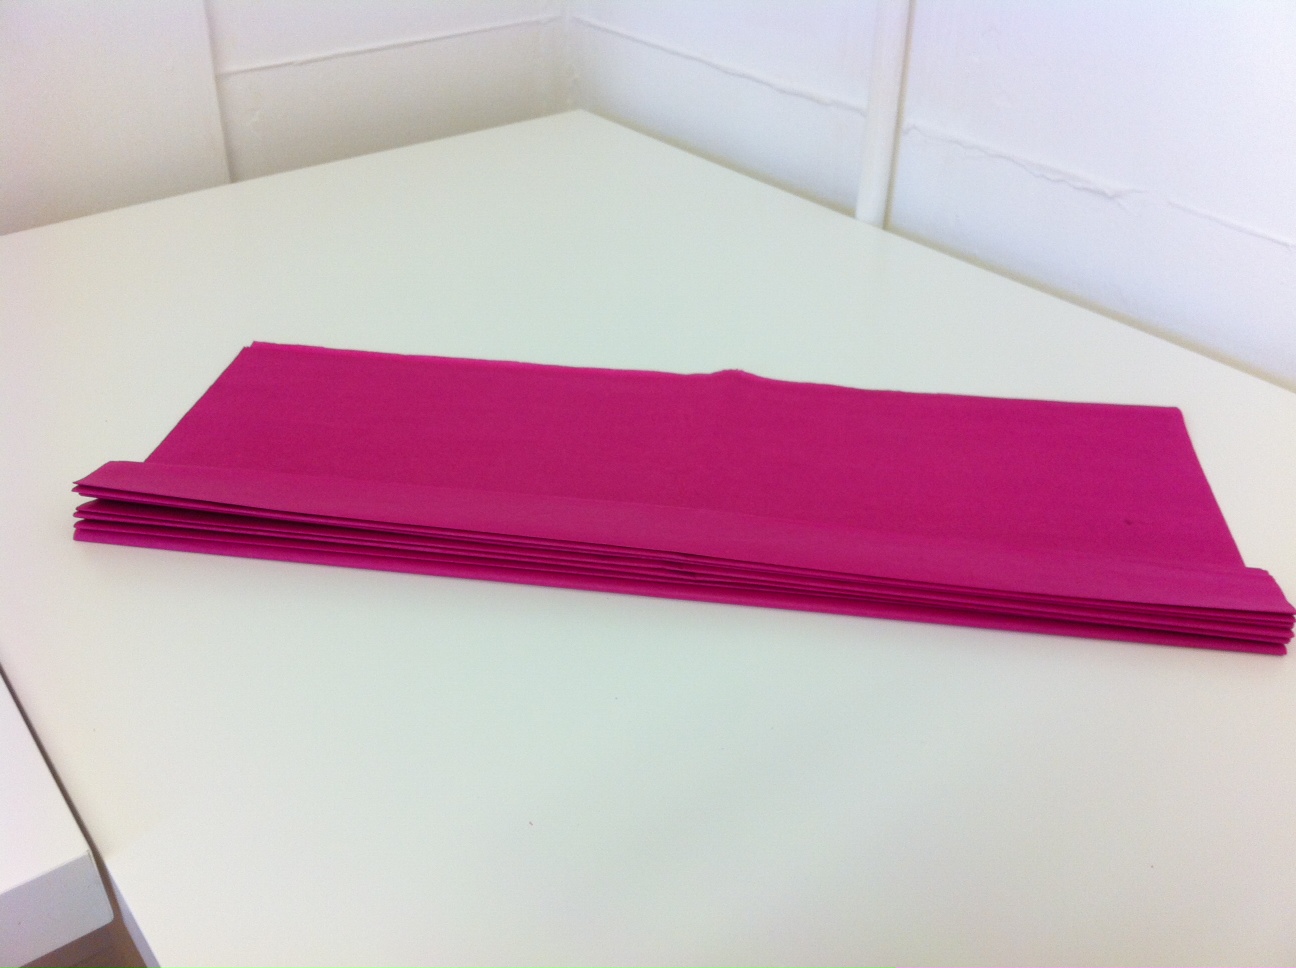
1. Take a stack of 8 sheets of 75cm x 50cm tissue paper and fold into concertina folds (like the paper fans you made when you were a kid). Each fold should be approx 4cm in width.
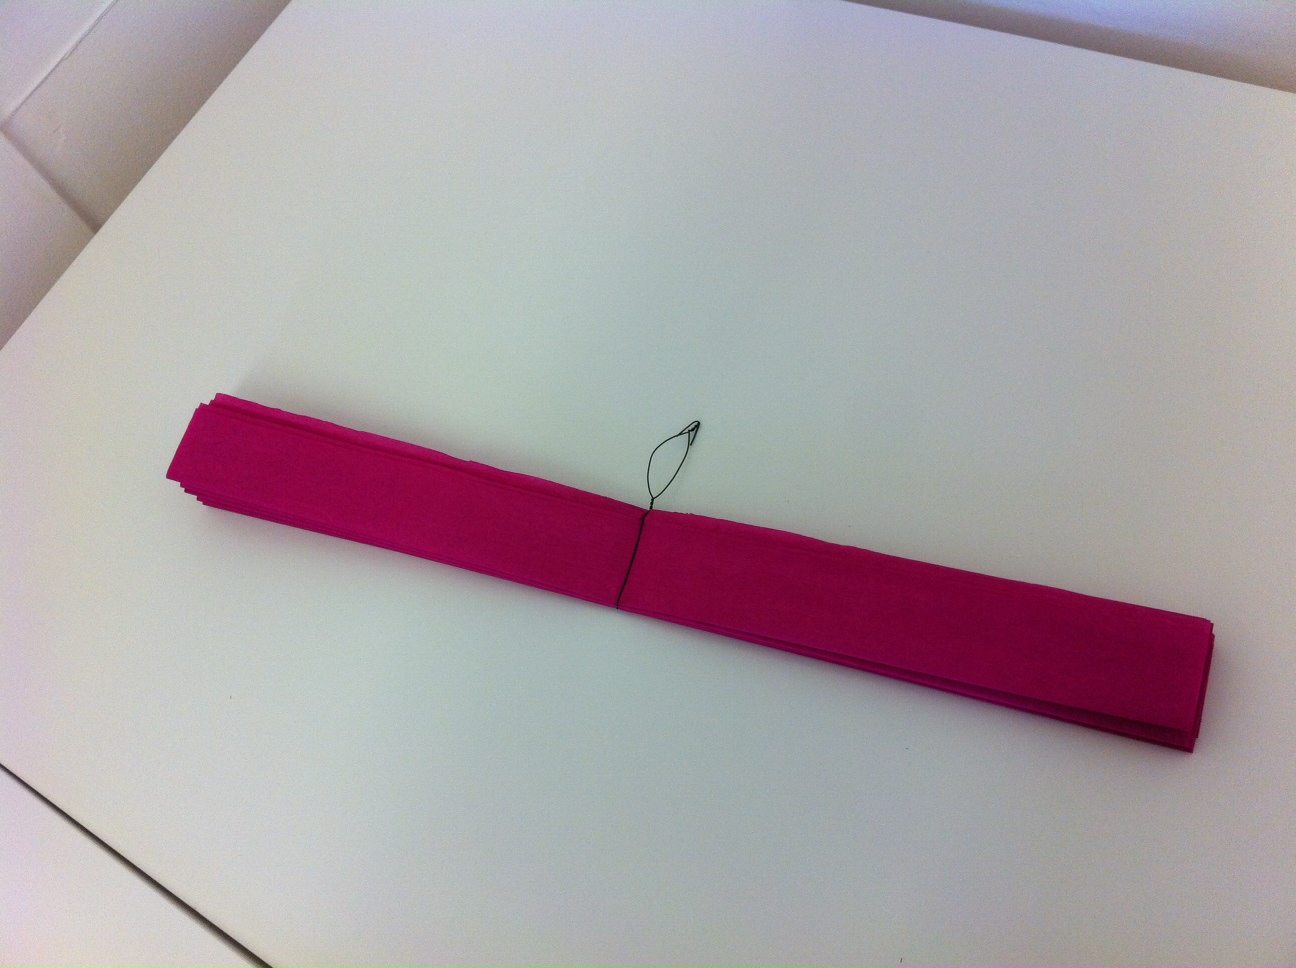
2. When it's all folded, use a piece of wire (I used floral wire from Hobbycraft) to fold round the middle. Twist the wire to hold the folds of tissue paper tightly in place, and make a hanging loop.
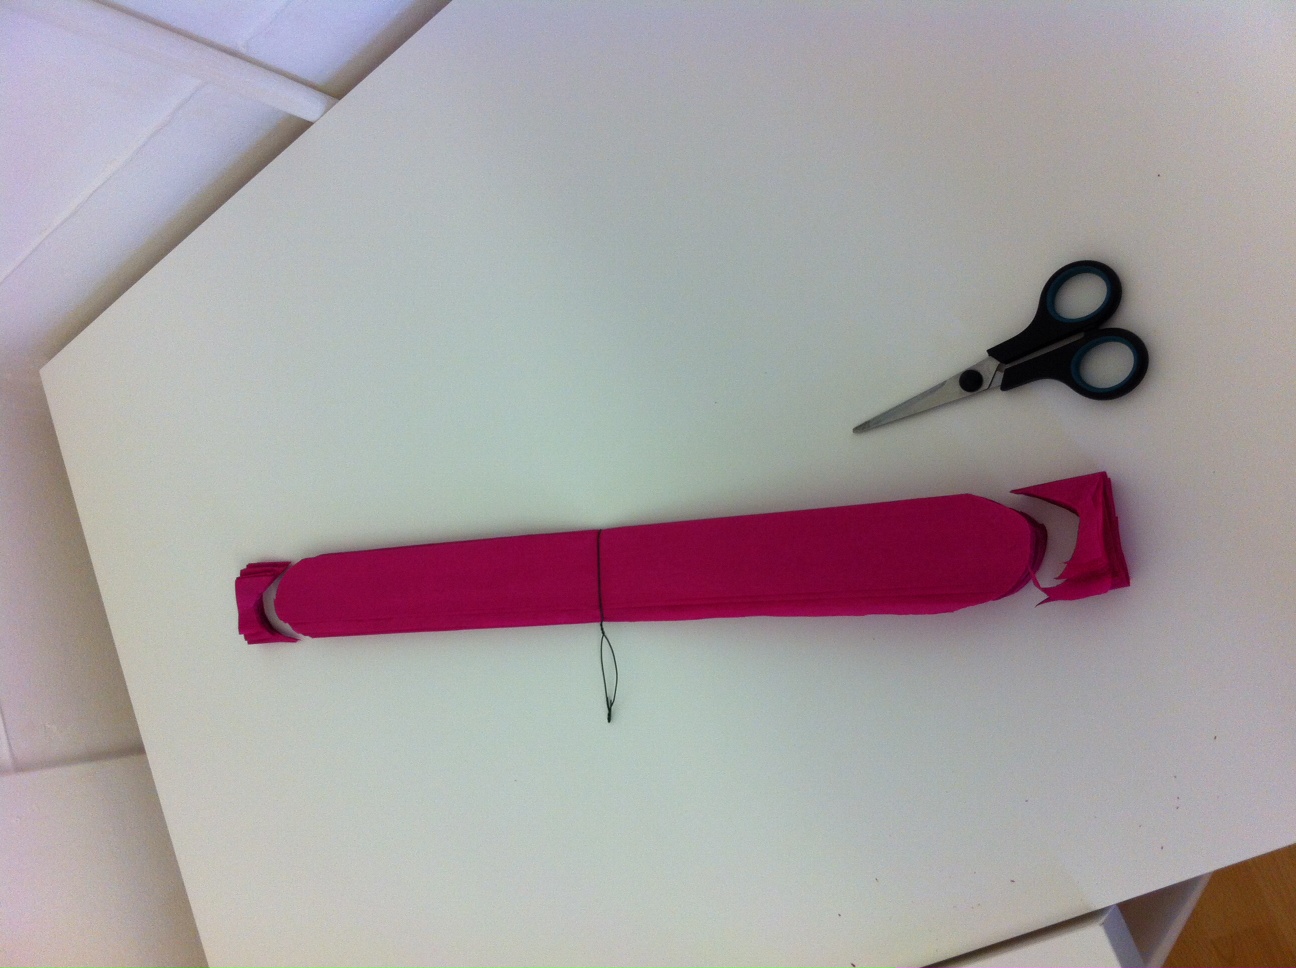
3. Cut the ends of the folds into curves.
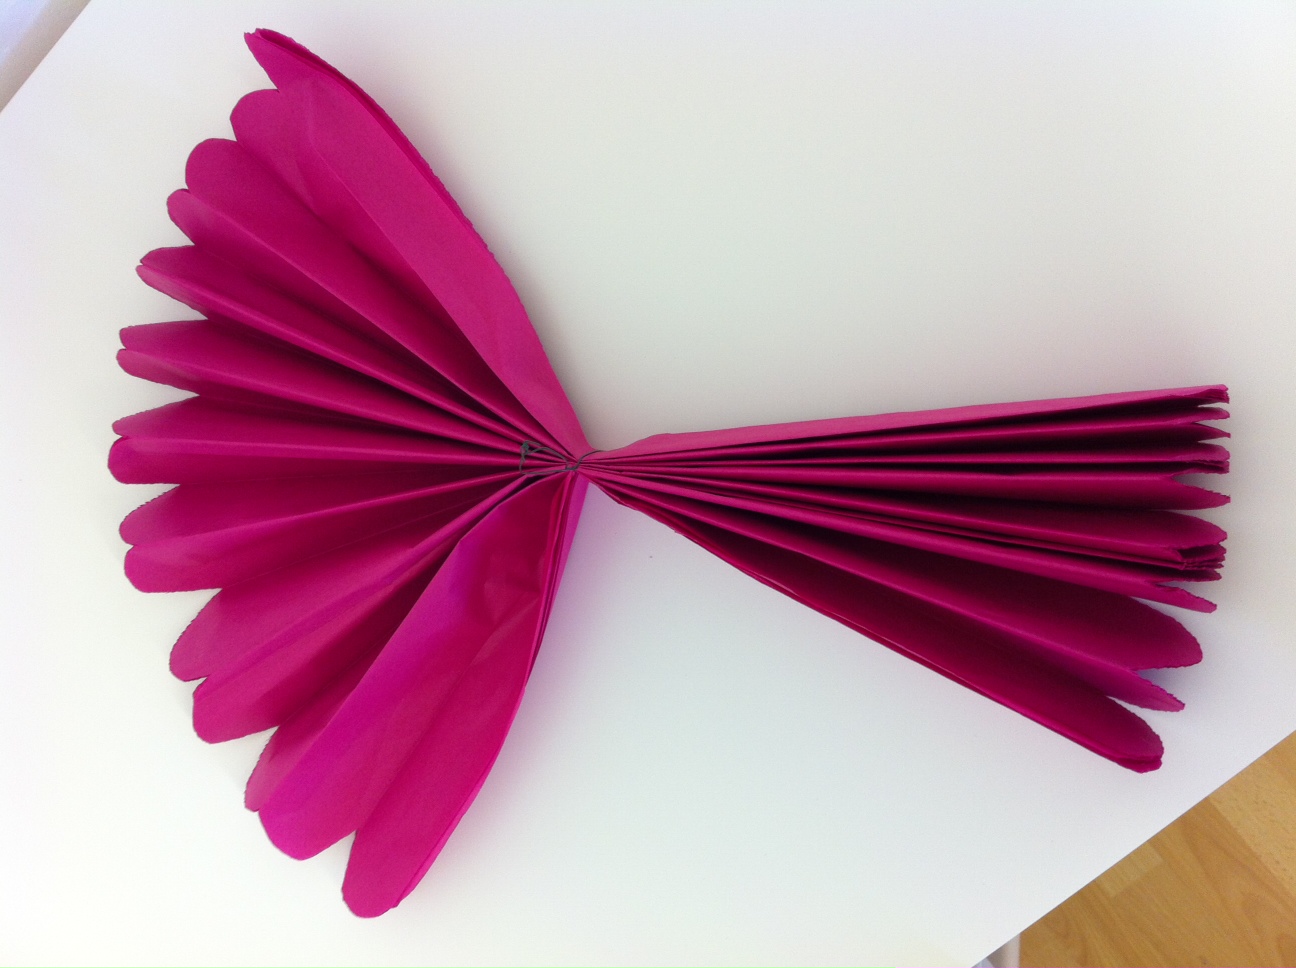
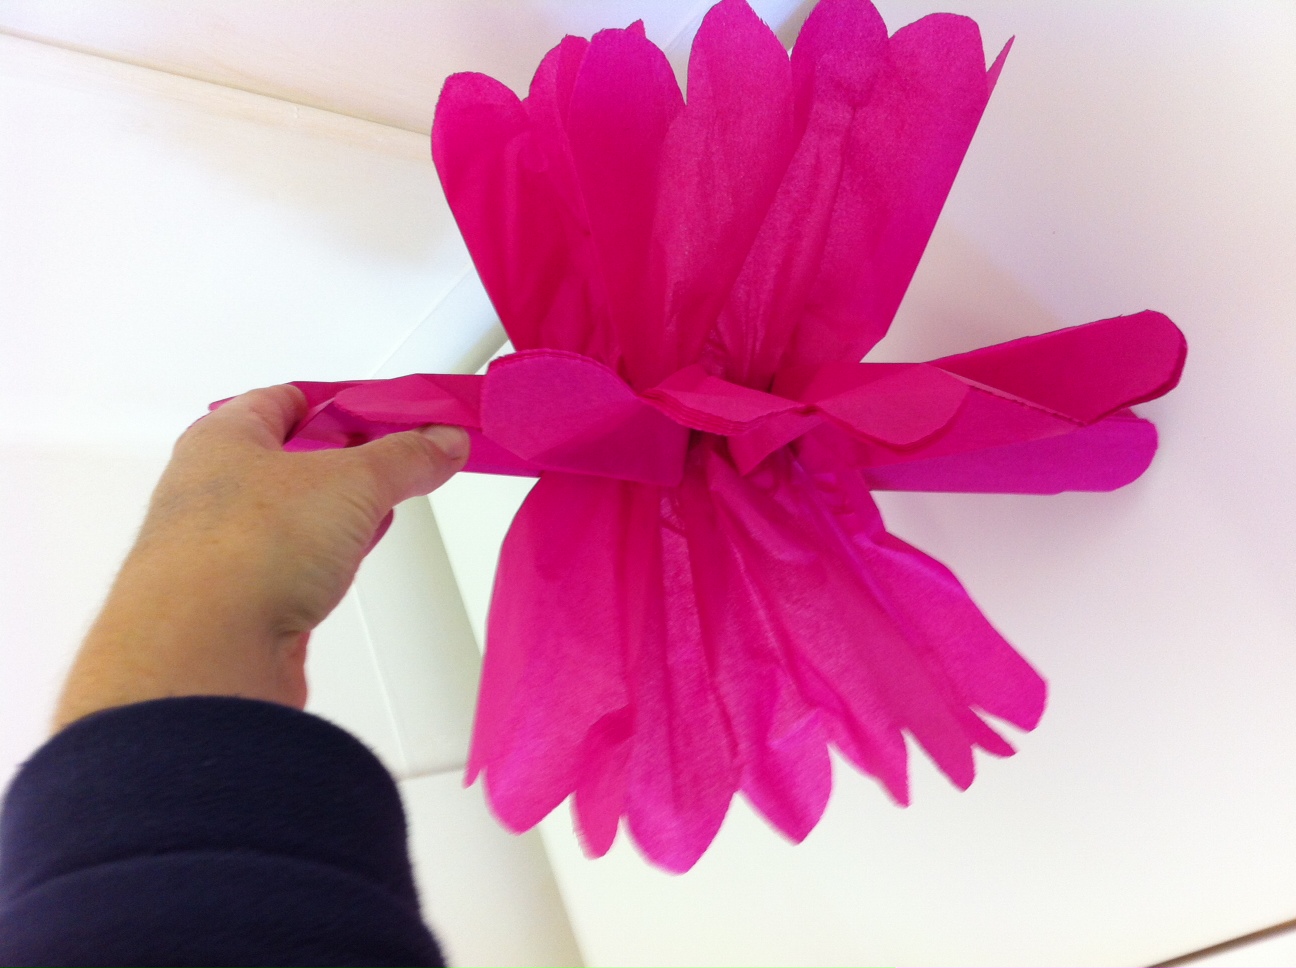
4. Start on one side of the fan: open out the tissue paper into a fan shape and then separate each piece of tissue paper away from the fan. Repeat for the other side of the fan.
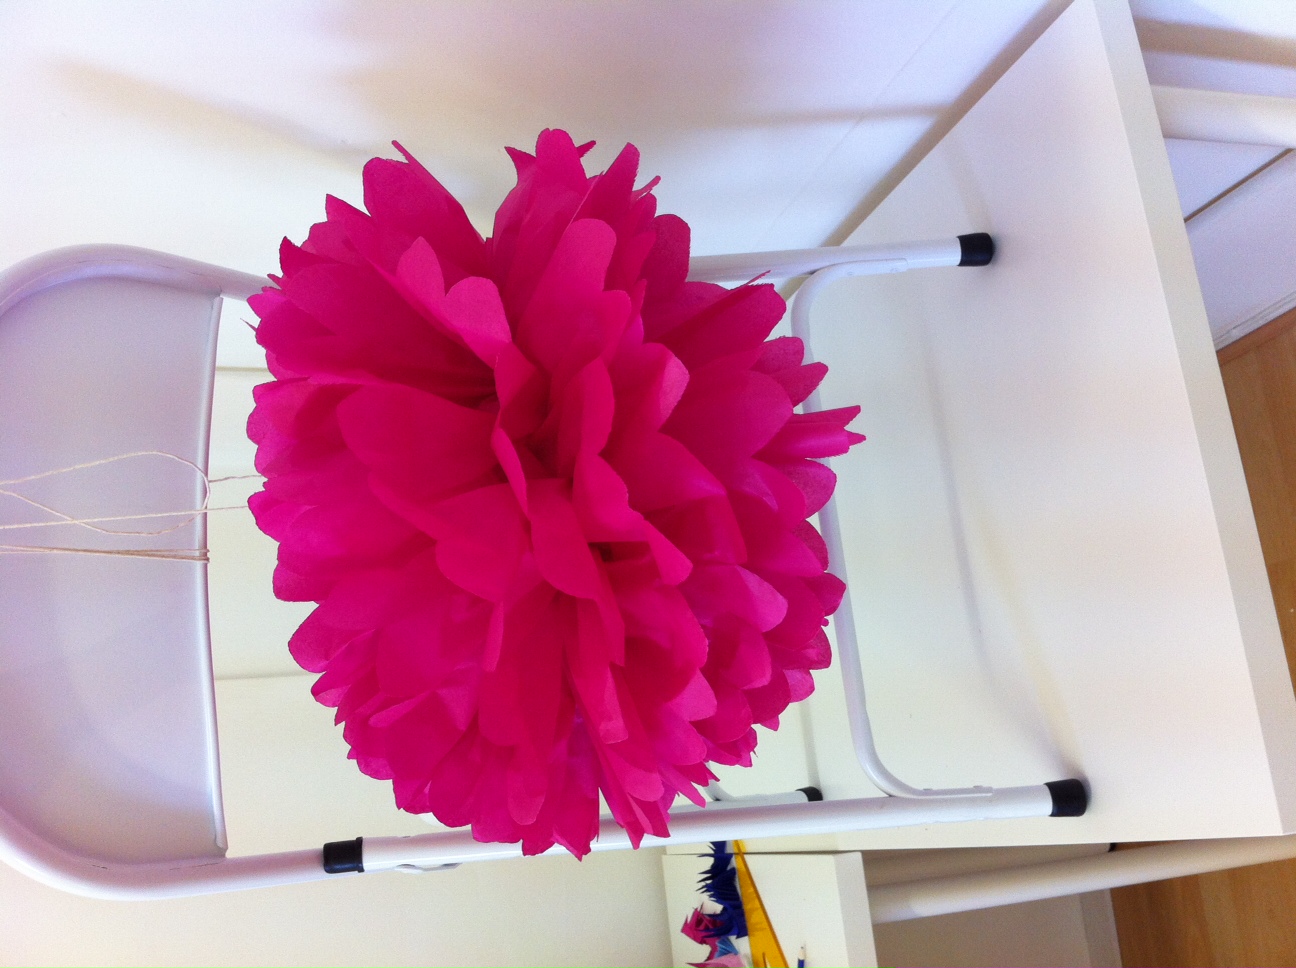
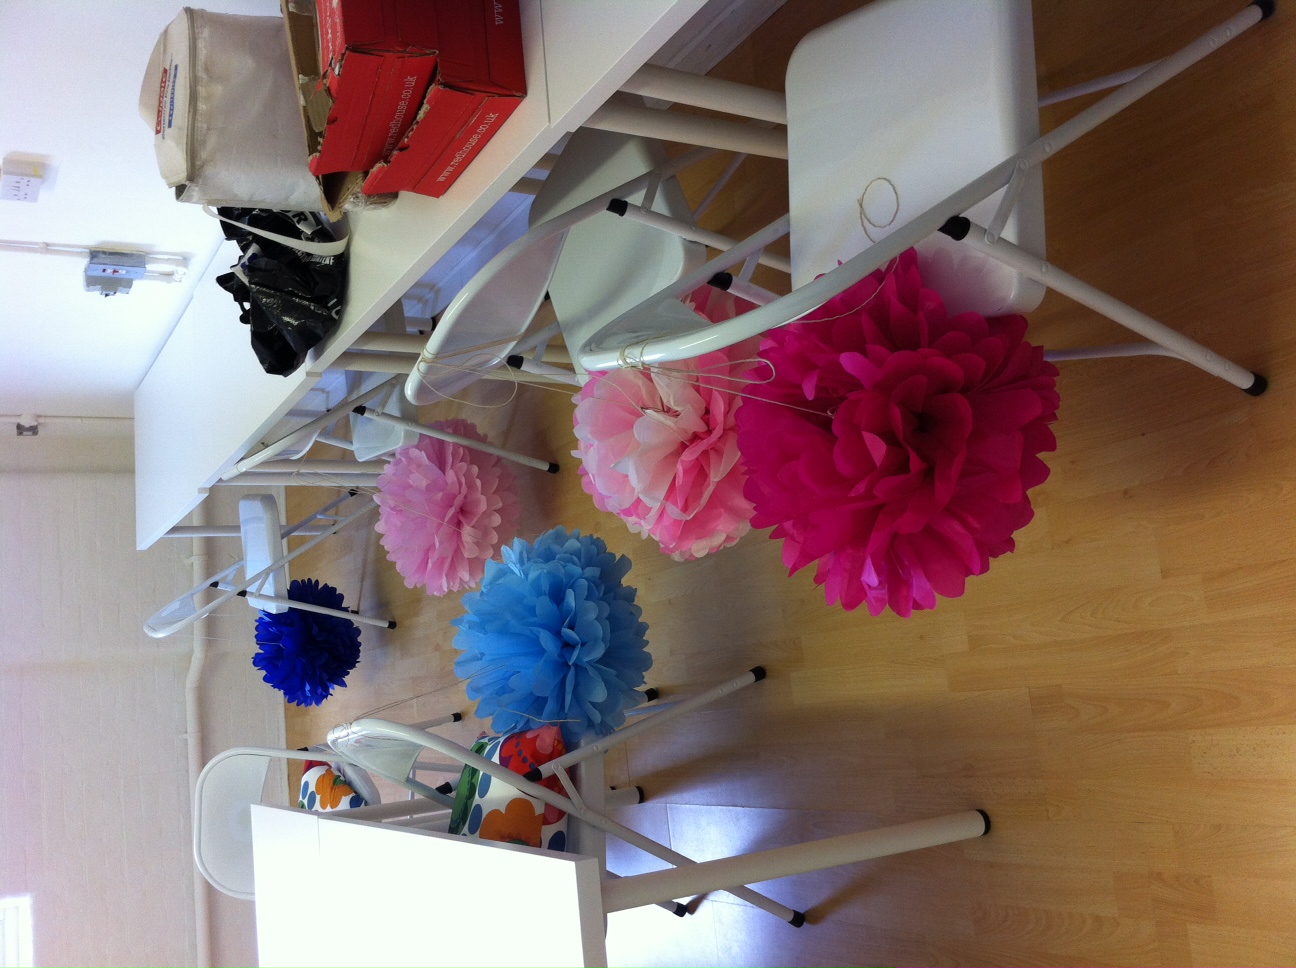
5. The finished item! I used string to hang it from the ceiling but fishing line would be better as it's transparent. I went on to make pom poms in other colours, and one 2-colour pom pom as well.
Pictures of each step are below, click to move through.